Showing posts with label Annie Sloan Chalk Paint. Show all posts

Saturday, August 9, 2014

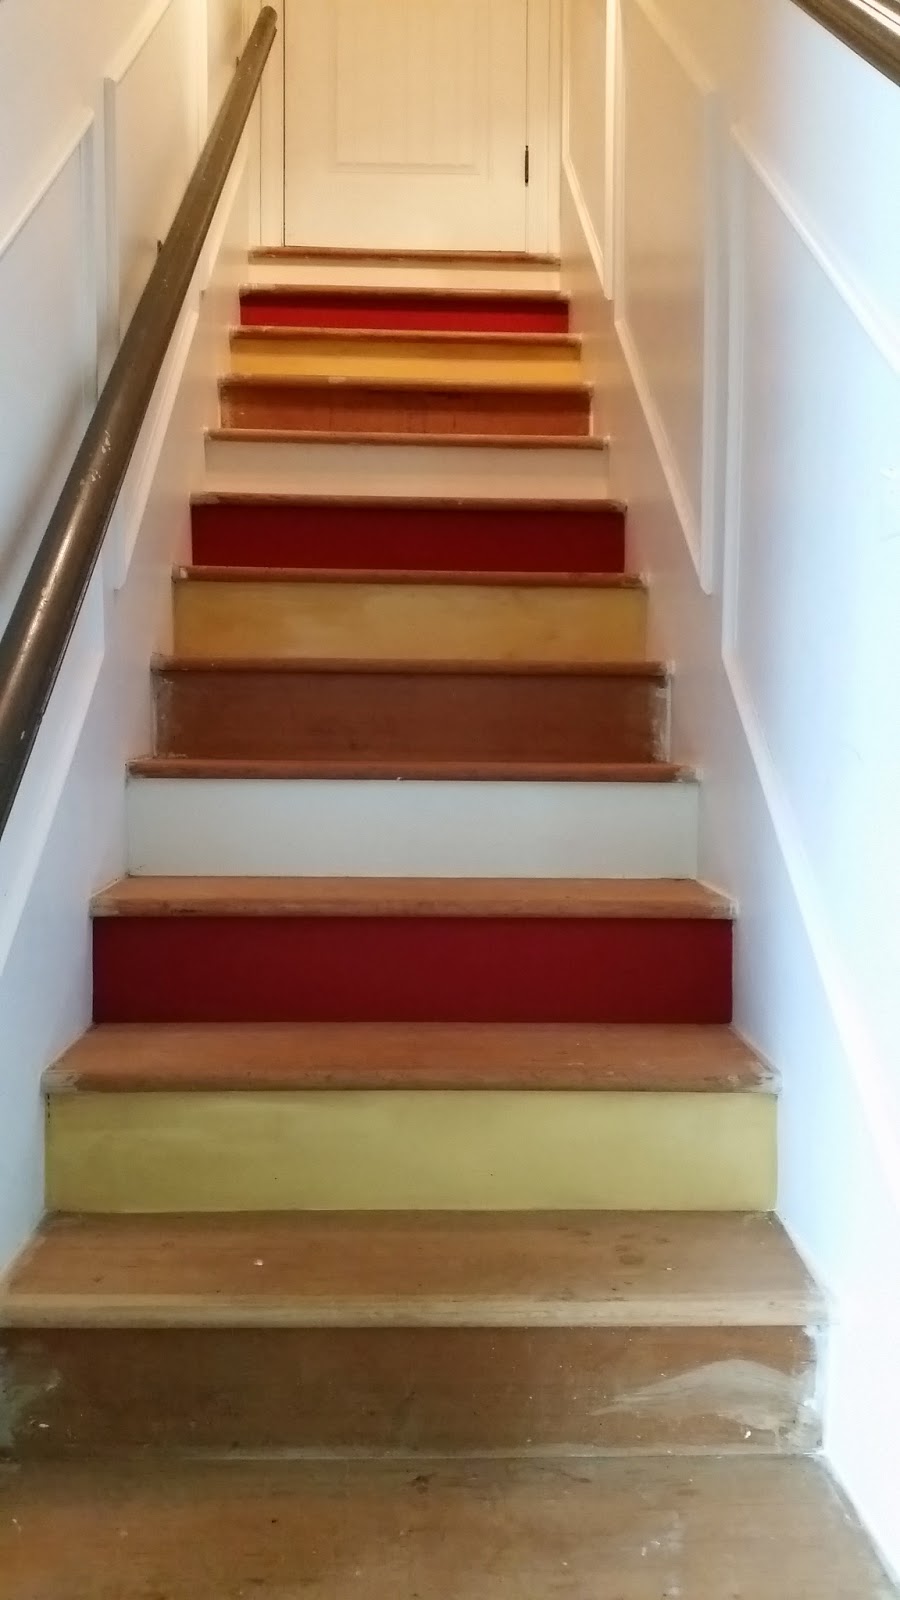
Painted Stairwell with Annie Sloan Chalk Paint


This project has been 3 years in the making! I do not have a photo of the stairs with carpet, no idea what happened to it after 3 years, LOL.

After taking up the carpet, I took out all the staples and nails and let it sit. about a year ago I sanded and puttied and let it sit. Wednesday I caulked around the walls and today I washed it all down with soap and water and painted!


I used 4 types of Annie Sloan Paint. Arles, Provence, Emperor's Silk and Old White for the risers.


The treads are a semi-custom blend. I pick out a color called Dark Chocolate, but it wasn't dark enough so they adjusted the color by 10% and then added an ounce of black.

I used an 2" angle brush and started with the risers.

I painted all the Old White first, then Emperor's Silk, Arles, and last Provence. I did it this way so I didn't have to wash out my brush each time I finished a step.


When they were completed I painted the tread. The brand is Royal and it is an enamel with a semi-gloss finish.


I think they turned out wonderful! I am so happy I completed this project!


I would love to know what you think!

Mel :D

Monday, August 4, 2014

Repurpose Sofa Table to Console Table


My mama gave me an ugly orange sofa table a couple of years ago. I took it because I needed something to put the TV on in the basement and it is a solid heavy piece of oak furniture. I just happen to absolutely despise the color.

Being a South Carolina Gamecock fan orange is not a color I chose to have around my house, LOL.

After looking at the piece for 2 years I decided it's time... No more delaying time to work. I found the paint color I wanted, Annie Sloan's Provence.

I brought my new favorite paint home and did 2 other projects... So much for delaying. A mirror and small table for the bathroom.


When I finally got the itch to paint it, I did 2 coats of Provence. The color was beautiful, but bright not what I was going for, so it sat for another 4 weeks while I tried to decide what to do.........

I decided to try the dark wax technique, being new to the Annie Sloan family I was nervous about the dark wax. I watched lots of YouTube Video's and thought, OK, I've got this.

But first, I started yet another project my mirror to chalk board.


The story of my life, always doing something :-) You would think with my aversion to all things orange I would have knocked this thing out years ago!

Alright, it's Saturday morning, my son is at his Nanny's, the Hubs is out like a light and I am determined to finish this project.  Coffee first a must have if I plan to stay awake. Then I remember the I recorded the early premiere of Outlander on Starz and I had to watch it.  So, with those 2 things out of the way. I trekked downstairs and looked at it. I had sanded the piece about 4 weeks ago, I cleaned up all the dust and wiped it down with a damp rag.


I got out the dark wax and started at the back of the sofa table. I figured this was the best place to start so I could see what technique would work best. I had a rag and applied it to a small area, but didn't like the result. I got my wax brush out and a very fine steel wool pad. Now that was what the look I was going for. Working in small area, I waxed with the brush and then went over it with the steel wool. The color deepened and where I had sanded the piece it darkened the orange wood that was coming though.  I'm totally distracted I'm watching World War Z... 


I had some fabric I picked up on clearance about a year ago and it is the exact color of  Provence. I had enough to staple to the back of the sofa table, to hide all the wires.


I painted the inside  of the drawers Arles, another beautiful Annie Sloan Chalk Paint color.


Here's the finished project! So happy with house it turned out!


Mel :D


Tuesday, July 22, 2014

Upcycle Mirror to Chalk Board with Annie Sloan Chalk Paint

I've had this project in mind for a year or so and actually had 2 failed attempts. The first attempt after spay painting the mirror with chalk paint, I broke it. YIKES!!!!!  The 2nd attempt, I made a frame from some scrap crown molding and chalked a piece of laminate.... the frame fell apart (several attempts to fix)  and the laminate just didn't do it for me....

So, I put this little project on a shelf in the back of my mind. This past Saturday as the heaven's opened and rained pored down (No rain here for weeks) I got an itch. The hubs was sleeping the day away (3rd shift) and our boy was with his Nanny. I got in the car and started hitting the thrift stores.I went up several making a few scores of different things I didn't need, but had to have LOL.


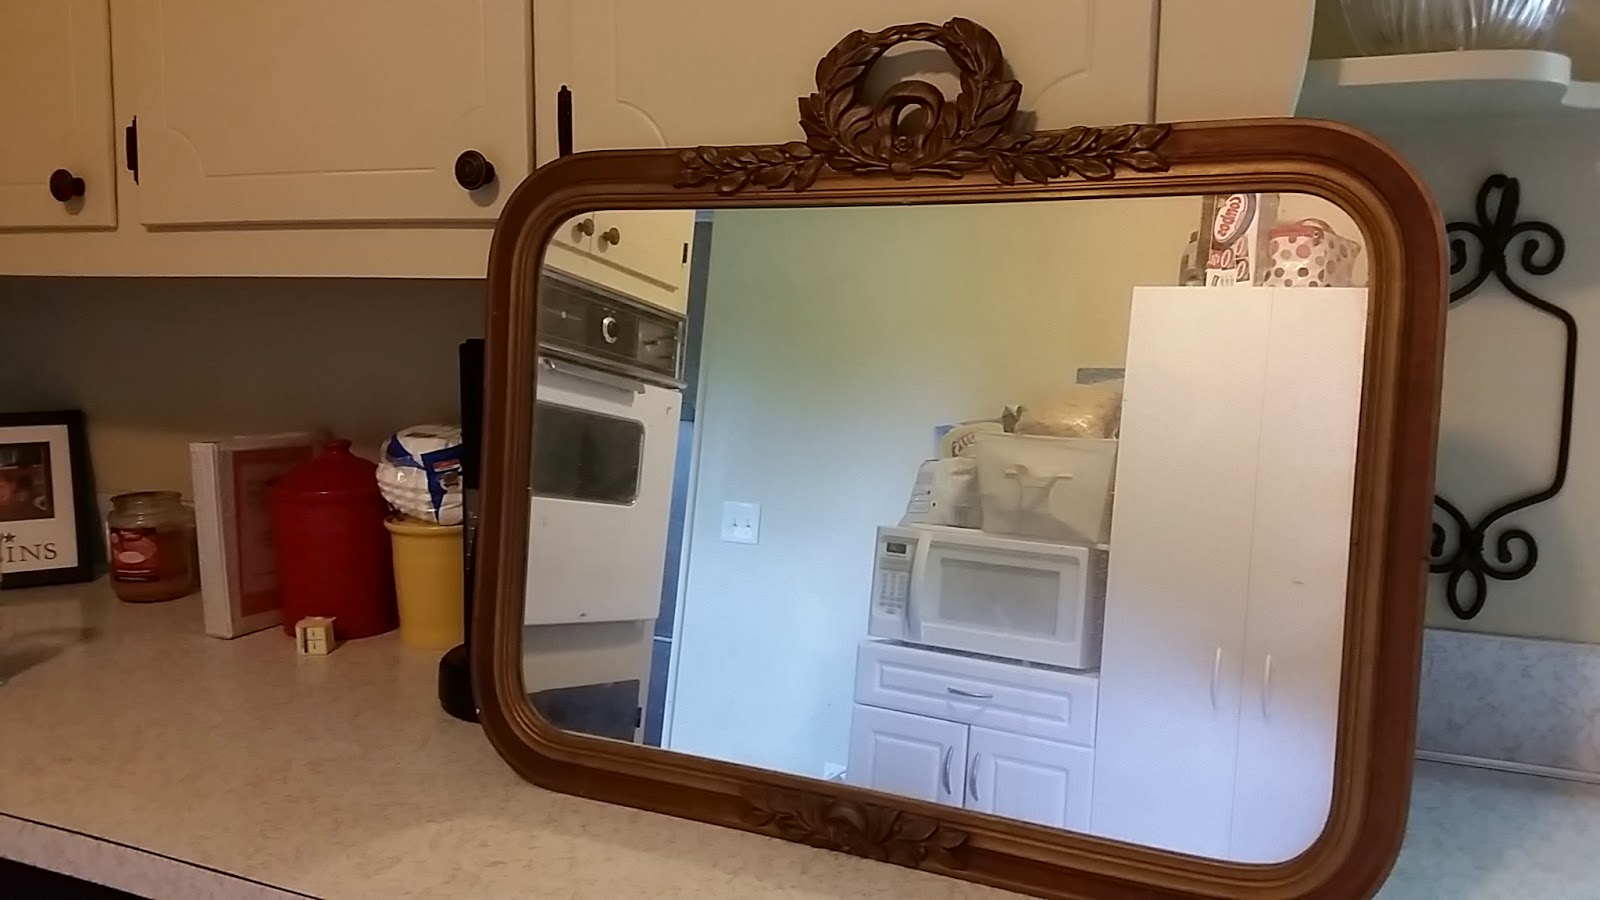
Then I found the fabulous mirror! It was exactly what I was looking for and the price was right! Only $8.00! 

I went to our local hardware store and purchased Krylon Chalk Board Spray Paint for $8.00.

The DH was awake when I got home (YIKES!) I couldn't very well sneak my finds in... With my head held high I brought my bounty inside and grinned. His oh so famous, "Whatcha got honey?" You know what I mean ladies, my fellow, sneak it in and hope he doesn't see it until it is completed...I ran to the basement with "Nothing" coming from my lips. LOL

He laughed, he always does when I'm busted. One of the many reasons I love him so much <3

OK enough of the mush.

Here is my mirror before and what took place during its tranformation.

Supply list:
Mirror
Spray Chalk Paint
Paint
Paint brushes


The mirror is white although it is hard to tell in the photos and very dirty at that. I cleaned it up with soapy water.

Got out my Annie Sloan Arles and Emperor's Silk and started painting around the frame. I'm not sure what I had in mind, but it wasn't turning into what I wanted. 


I tried white washing it with Old White, but still couldn't get what I was looking for (apparently I had no idea what I wanted). I clear waxed and dark waxed and painted again and blahhhh. I just wasn't right.


After about an hour or so I left to show a property (my day job is real estate) with the project on my mind.

Moving forward, when I got back home I started browsing Pinterest. I searched Annie Sloan Chalk Paint and came across this must have future project dresser. The Emperor's Silk is a vibrant beautiful red and by applying the dark wax on top, Superb!

I had a direction. I applied 1 coat of the Emperor's silk, let it dry, and began sanding my edges etc. The Old White and Arels began popping thru, and it was an AHA moment, this was exactly what I wanted.


After sanding and wiping the dust away I applied the dark wax. Dark wax makes me nervous and this was my first attempt. I wanted control and a lot of it, so I used a lint free cloth and my index finger and worked the dark wax into the paint. WOW oh WOW. It deepened the aged the Emperor's Silk, it is beautiful.


Here is the finished project I am extremely happy with this piece!


Sunday, June 8, 2014

My New Love, Annie Sloan Chalk Paint

If you haven't heard of Annie Sloan Chalk Paint, you are not alone.  I, like most of us creative types check out Pinterest (me, several times a day) and pin away. What caught my eye was a painted upholstered chair. I started flowing Nancy's blog, www.artsychicksrule.com and thru her site I heard about the wonderfully, beautiful, easy to use chalk paint. I started searching Google to learn more about how to use the paint and different techniques and ran across this youtube video. I loved Christen's videos, so I stated following her blog, www.Blueeggbrownnest.com.  All that to get to my very first Annie Sloan Chalk Paint project.


Where to buy. Not Lowe's, Home Depot, or any other big name store. Annie Sloan only sells her paint in small shops thru what is called a Stockist.  (Bear with me here) This paint isn't sold just anywhere, you have to find a Stockist and you may not have one in your area. You can go to Annie's webite and find a Stockist near you.

I mentioned a post on Facebook that I was thinking about trying out this chalk paint and got an immediate response from a friend. Beth said she has fallen in love with the paint and I have to try it, and she told me we were lucky enough to have a Stockist in town! Woo hoo for Gallery 313!!

Parking downtown that morning was a breeze (this doesn't always happen). As I walked in the door a sweet lady says "May I help you?", "Yes, please. I'm looking", "Don't tell me, I can tell by looking at you, you want the Annie Sloan Chalk Paint." (Big smile on my face) "Yes, I do. I heard you carry it?" "Come over hear and let me show you what I have." About an hour later I walk out with Provence, Old White, Clear Wax and a wax brush.  During my visit Terri was so helpful. I had tons of questions, and she answered them all. She showed me different pieces in the shop and different techniques to use. I was in heaven! I seriously think Jesus will have tons of paint in heaven so I can paint my heart content.

I was nervous about using this paint, it only comes in quarts and is expensive. I was assured it will go a long way on my project.

My first project was meant to be a large table and 4 chairs, but because I was intimidated I started with as side table that was my Grandma's, and a mirror I picked up 3 years ago at a yardsale for $3.00. It has since been in a closet.

Now that all that that is out of the way!

This is the small table that came from my Grandma's house. Probably made in the 80's early 90's. It has seen years of love and was ready for a makeover.


Then there the "golden" beauty, LOL. The mirror is older 30's or 40's is my best guess.

 
I started with the table. No sanding need. I used a damp cloth to wipe it down and let it dry. Opened my cans to decide which one to use.

I chose Provence. It is difficult to tell in the photos, but it a perfect turquoise. Please know I do not use the term lightly. I have searched HIGH and LOW and all along Annie Sloan had it!


This is after the 1st and second coat of paint. It covered pretty well, but it was really going to need a second coat.  This is where searching online for techniques comes in handy. I diluted about 2 tablespoons of the paint with 2 tablespoons of water. OH YES YOU CAN! And I had just a little left over after the 2nd coat.


After the 2nd coat of paint dried, I applied the clear wax. Once this was completed I started distressing the piece.


With the mirror I used 2 different colors. Once again I took a damp cloth and wiped down the piece. I painted the first color Provence. Then distressed the piece, applied clear wax, applied Old White, distressed the piece and then one more coat of clear wax. It took about 2 hours to finish the mirror.


This photo is after the coat of Provence and then sanded.


 After Old White is applied
Before and after


Before and After
 

I've placed both pieces in the bathroom which just happened to be the perfect place for them. When I started this project I had no idea where I was going to put either piece, LOL.


Now I need some white towels to go on the lower shelf and some handmade soaps in a bowl on the top shelf! I'm so happy with how it turned out. I can't wait to get started on my table, then the dressers, a bed, a chest, another mirror, a bookcase.... You get my meaning!

I would love to hear your thoughts and ideas!

Happy Pinning and Painting!!!

Mel :D